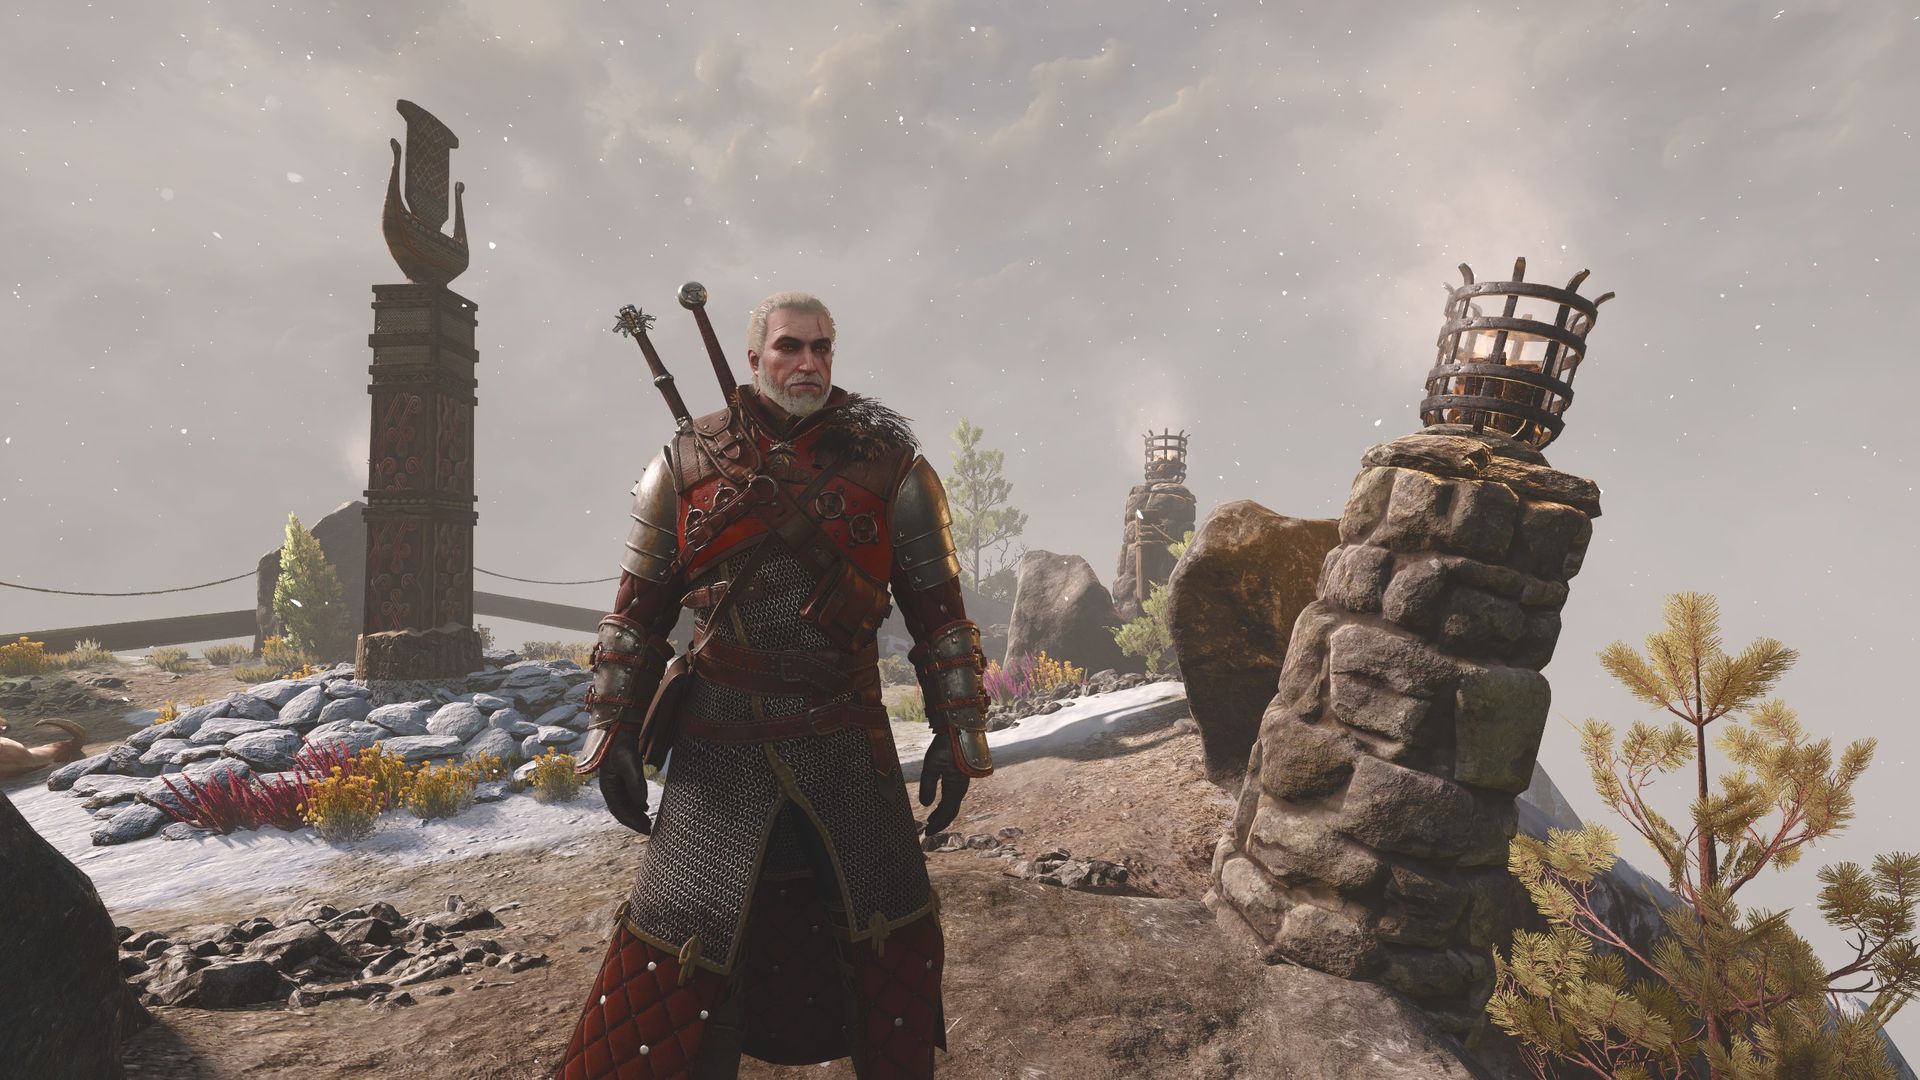
Энэхүү гарын авлага нь The Witcher 3 тоглоомын хамгийн хүчирхэг хүнд хуягны иж бүрдлийг олох маршрут болон шаардлагатай алхмуудыг тайлбарлана.
Ursine хуяг нь тоглоом дахь цорын ганц хүнд жинтэй хуягны иж бүрдэл бөгөөд гэмтэл эсэргүүцэх өндөр үзүүлэлтээрээ тоглогчдын дунд түгээмэл сонголт болдог. Энэхүү иж бүрдэл нь дөрвөн хэсэг хуяг, хоёр сэлэм болон арбалетаас бүрдэнэ. Үндсэн хуягны диаграммыг олохын тулд Skellige арлуудын зүүн хойд хэсэгт байрлах Urialla арлын эвдэрхий цайз руу очих шаардлагатай.
Замын туршид тоглогч нь Rabid Rock Troll, Siren болон Wraith зэрэг дайснуудтай тулалдах бөгөөд цайзын нуранги хэсгээр дамжин хаан ширээний танхимд хүрнэ. Диаграмм бүхий авдрыг авсны дараа гурван Wraith гарч ирэх тул тулаанд бэлтгэлтэй байх хэрэгтэй. Уг хуягийг өмсөхийн тулд тоглогч дор хаяж 20-р түвшинд хүрсэн байх шаардлагатай бөгөөд үүнийг Crow’s Perch, Novigrad эсвэл Kaer Trolde-ийн дархан дээр хийлгэх боломжтой.
Crossbow, Silver Sword болон Steel Sword-ийн диаграммууд нь Skellige-ийн өөр өөр байршилд байрлах бөгөөд тэдгээрийг олсны дараа тус бүрийн даалгаврыг гүйцэтгэнэ. Хуягны иж бүрдлийг сайжруулахын тулд Kaer Trolde-ийн дархнаас Ibrahim Savi-ийн газрын зургуудыг худалдан авч, тэмдэглэгдсэн байршлуудаар явах шаардлагатай. Blood and Wine DLC-ийн хүрээнд Toussaint бүсэд очсоны дараа Lazare Lafargue-тай уулзаж Grandmaster зэрэглэлийн сайжруулалтыг эхлүүлэх боломжтой.
Дэлгэрэнгүйг эх сурвалжаас харах
↓Эх сурвалжийг нээх ↓
⚔️ The Ursine armor diagrams are in The Skellige Isles.
⚔️ It has a level 20 requirement.
⚔️ You’ll have to fight sirens, wraiths, gargoyles, and a rabid rock troll to get them.
⚔️ Upgrade diagram locations come from buying Ibrahim Savi’s maps from the Kaer Trolde armorer.
The Ursine armor is a fan favorite set in The Witcher 3, mainly due to its incredibly high damage resistance as the only heavy set of witcher gear available. It consists of four armor pieces, two swords, and a crossbow.
The diagrams to forge the basic Ursine witcher armor are located in northeast Skellige in the ruined castle on Urialla Isle, near the top of the Yngvar’s Fang trail. I show the route in the video about, but otherwise, head to the Urialla Harbor fast travel and then:
- Take the northeast path out of the village and go right at the fork until you hit the Trail to Yngvar’s Fang fast travel.
- Kill the rabid rock troll just ahead.
- Follow the path along the cliffs and kill the sirens.
- When you reach the collapsed section of the trail, slide down onto the broken stone walkway and jump across the gap to enter the fort via a wooden door.
- Take a left down the spiral staircase, go to the end of the corridor, turn right, and pull the lever—this will open the cell doors and spawn some wraiths.
- Drop down through the first cell to your left when facing back down the corridor.
- Follow the path past where the next wraith spawns and climb through the broken hole in the wall into the throne room.
Forge it at Crow’s Perch, Novigrad, or Kaer Trolde’s armorers, though it has a level 20 requirement to equip
The chest containing the diagrams is just right of the throne, though be warned that taking these and pulling the lever to let yourself out will spawn three wraiths to fight.
Read the Chronicles of Clan Tuirseach, which is also in the diagram chest, to unlock the Ursine Crossbow and Ursine Silver Sword locations:
Ursine Crossbow
In the Siren’s Cave on Svorlag in northwest Skellige, past the Old Watchtower in the south. Prepare to fight a lot of drowners.
Ursine Silver Sword
In the ruins of Fort Etnir in the north of the central island. Take the trail east and then north of Rogne. Prepare to fight two gargoyles.
Finally, read Knight Chalmir’s Letter, from the corpse carrying the Ursine Silver Sword diagram, to get the location for the Ursine Steel Sword:
Ursine Steel Sword
In the basement of the ruined inn in the south of the central island. Head southeast from Fyresdal and prepare to fight sirens, plus wraiths in the inn basement.
Once you’ve crafted the basic armor, you can upgrade it to enhanced, superior, and mastercrafted by finding the relevant diagrams. You can get all of these locations if you buy Ibrahim Savi’s first, second, third, and fourth map from the Kaer Trolde Armorer and follow the quest markers to acquire each upgrade diagram.
For the grandmaster upgrades, when you head to Toussaint in the Blood and Wine DLC, speak to Lazare Lafargue in his armor shop in south Beauclair to start the ‘Master Master Master Master!’ quest to find the diagrams.
2026 games: All the upcoming games
Best PC games: Our all-time favorites
Free PC games: Freebie fest
Best FPS games: Finest gunplay
Best RPGs: Grand adventures
Best co-op games: Better together